
7 Unusual Landscape Photography Tips to Try
After being out on location so many time in the past few months and talking to a lot of other photographers, I was thinking of some different tips I haven’t really heard of before but are really valuable for landscape photography.
Your Landscape Photography can get better by going out and taking photographs on a regular basis, and with these tips, you can really move it forward and develop your skills in this incredible genre of photography.
01. Look for the Zee
Now by this I am not talking about zombies … so no movie references here … “but it is all about the cardio” …
What I am talking about is the implied shape in the frame and there is something about a “Z shape” that seems really appealing.
This can be layers overlapping, a stream, or parts of a hilly landscape … anything that shows or implies a Z shape in your frame can make the photograph really come alive.
Can you see the Z shape in this photo?

It can be an S shape as well
02. Check Your Horizon
Getting your horizons straight seems quite straight forward, but it can be a lot harder than you think. I have come home quite a few times after a great landscape session to find that my horizon is off in a lot of my photographs …
This can come down to my mind being tricked by a big hill on one side, the exposure being bright on one side of the frame hiding the horizon, or just a little bit of tiredness from the early mornings!

The horizon is quite hidden in this photograph, and it is not straight …
There is one in camera setting that can really help you correct this before you have even made the mistake in the first place.
Having the thirds grid on the back of the camera can help you remember to get the horizon flat. As it has two straight lines in it for each orientation, it will inevitably make a wonky horizon stand out more so than if you had no overlay on your screen or in your viewfinder.
If you want to know other things this grid is great for, check out this video.

As soon as you have the thirds overlay on your display, you can really see the horizon is NOT straight
Now the second thing with your horizon is to not have it competing with your main subject.
If the horizon is strong in your frame, it will be distracting. If this is the case you need to reframe, by either using a different focal length or moving your position.
When you get low, the horizon will become a lot less prominent and that will be less distracting.
I think this is why I love getting the frog's eye perspective of different subjects. It gives a very unique angle and people will easily be wowed by your photography when you do start shooting from low down. It gives the sense of grandeur to your subject and really emphasises tall objects in your frame.
Getting low to the ground gives that frog’s eye perspective
Also, if your subject is breaking the horizon, look to see how it intersects with that line. Does your eye get drawn along the horizon or around your subject.
If it does get drawn along the horizon, it is winning the competition for the viewers attention, taking it away from the main subject … therefore you need to make it less distracting by moving the horizon to a different position in your frame.
If you are struggling with your editing, you might like to watch this video on my entire editing workflow.
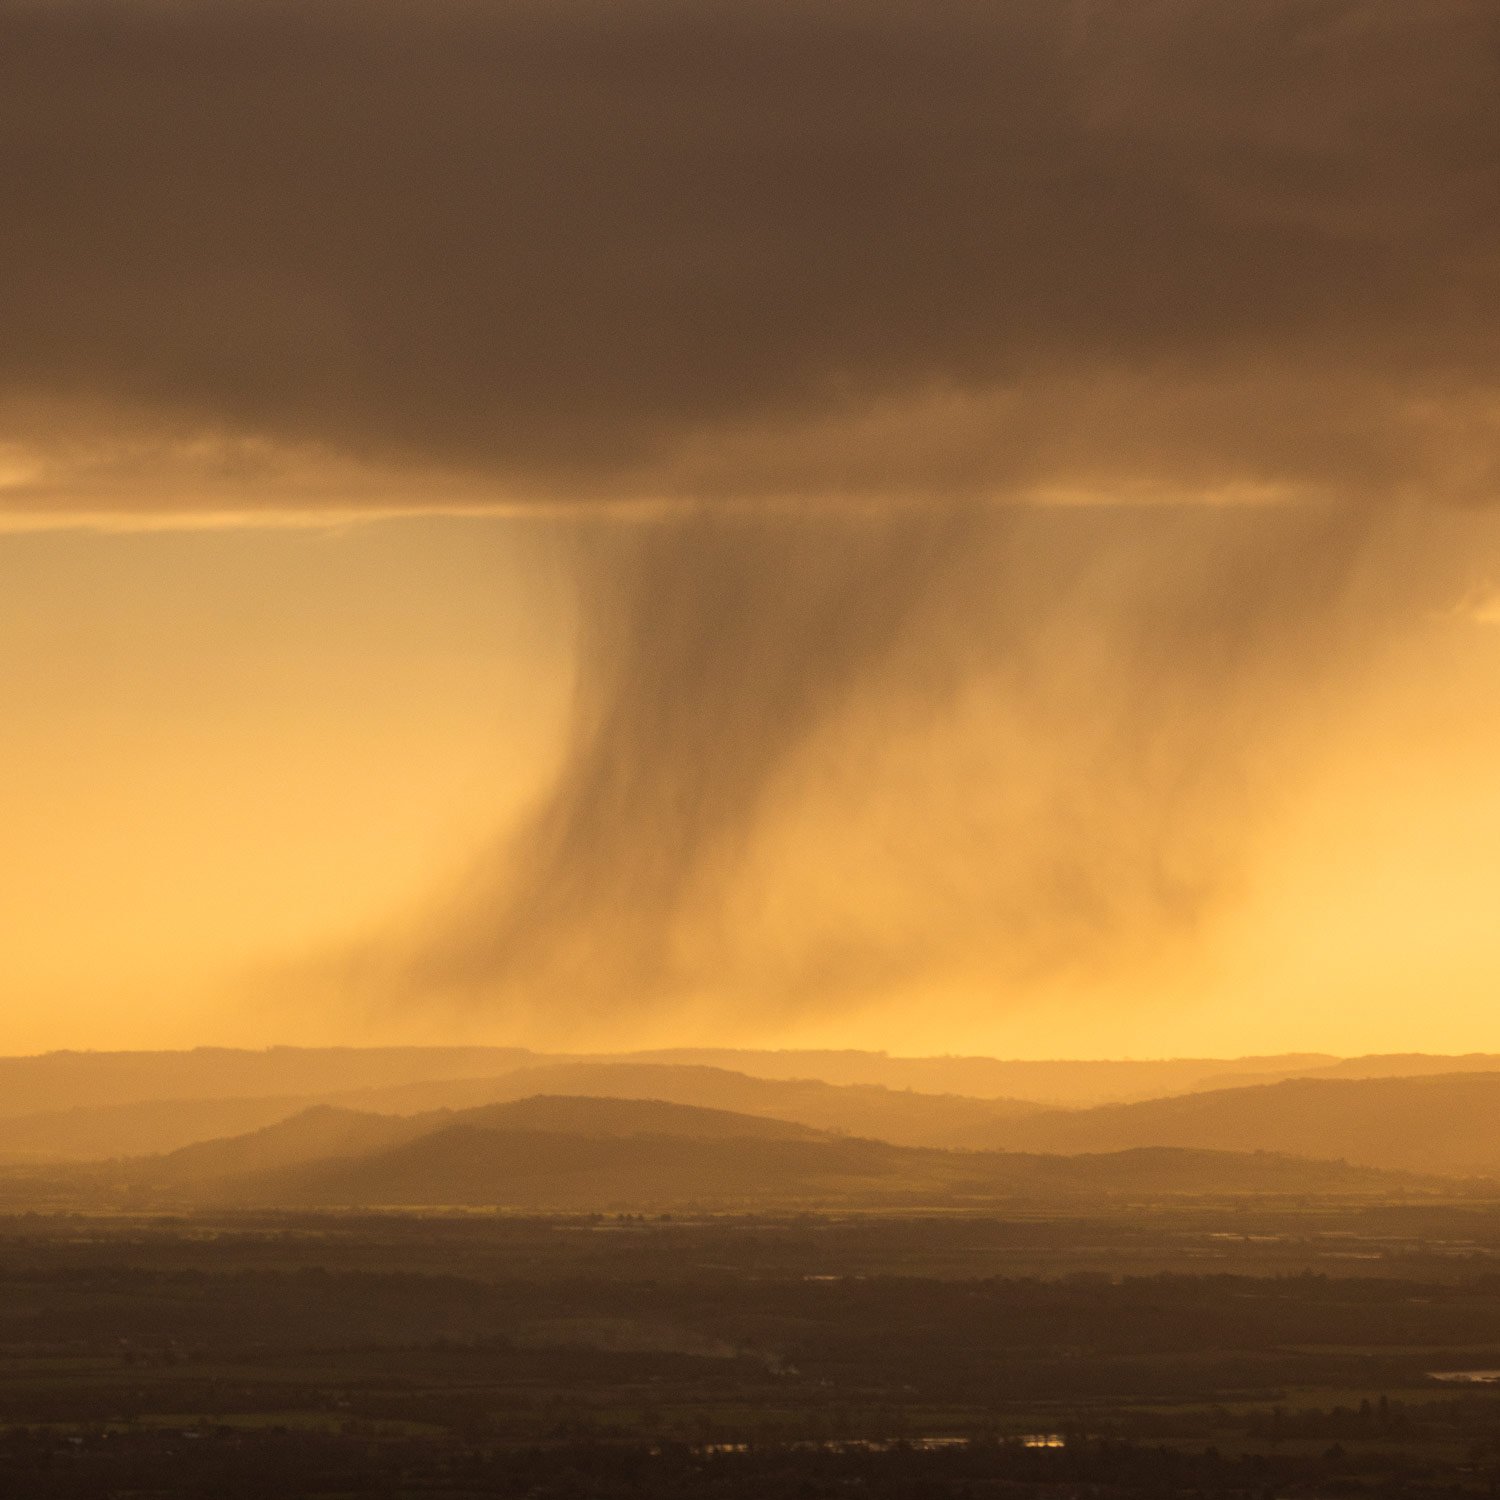
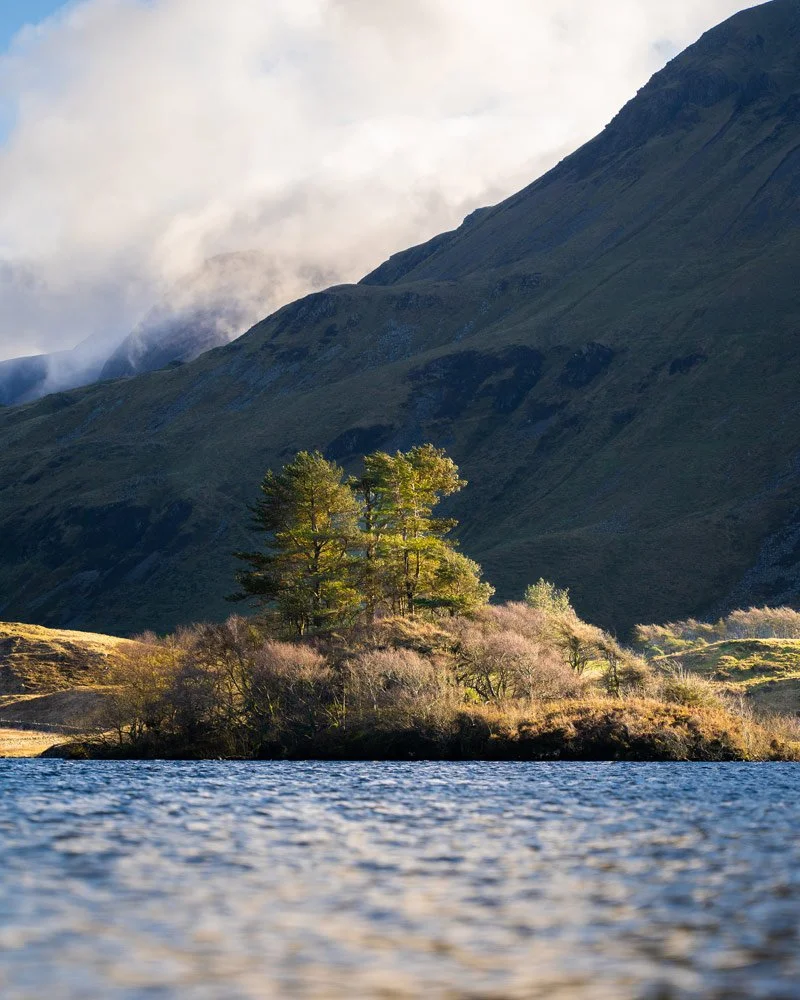
03. Exclude Everything you Possibly Can
Now don’t take this literally. But if you exclude as much as you can, apart from the main subject, you will really help the viewer to focus in on what you are photographing.

There is a lot of the clouds and fields that don’t need to be in this landscape photograph
This will then take away any confusion as to what you were photographing and what the purpose for your photograph is.
“There is nothing worse than a sharp image of a fuzzy concept” Ansel Adams
So just before you take your next photograph, take a look around your frame, and ask yourself, what doesn’t need to be in there … and then find a way of excluding it.
You might have to move your position, your height or completely change your location, but in thinking this way, you will come away with more photographs that have true meaning instead of a handful of snap shots.

This was taken at the same location as the last photograph, but it is a much more compelling image …
04. Horizontal or Vertical? That is the Question …
Knowing how to frame your subject can be a tricky decision to make. I sometimes photograph my subjects with both framings when I am not sure, but in looking at your subject, try to start thinking about the orientation and aspect ratio of the final photograph.
Think to yourself, is it a vertical photograph or a horizontal photograph? In asking yourself this question, you’ll start to look at the elements in your frame, and then you will come up with a great composition and know which way to hold your camera.
Like I have already said, when I am not sure, I will tend to shoot the subject in both orientations and then decide after, when editing. But in thinking about it in the field, you are developing your understanding of what you are photographing.
Both orientations of the camera can work really well with the same subject. It just comes down to your artistic imagination and creativity.
Don’t be shy and get both if you are not sure and then work it out afterwards.
Remember, photography is a forever developing experience. You are not going to learn everything you need to know about composition in this document or any single article for that matter.
You will take some bits of information from it, maybe use them, and then other times, you might throw all of this information out the window and do something completely different.
My aim is to get you thinking about your photos and what you take, so you are photographing with purpose to give you the best possible photographs you can get of that subject or location.

Tryfan as a landscape photograph works really well with the stream flowing through the frame
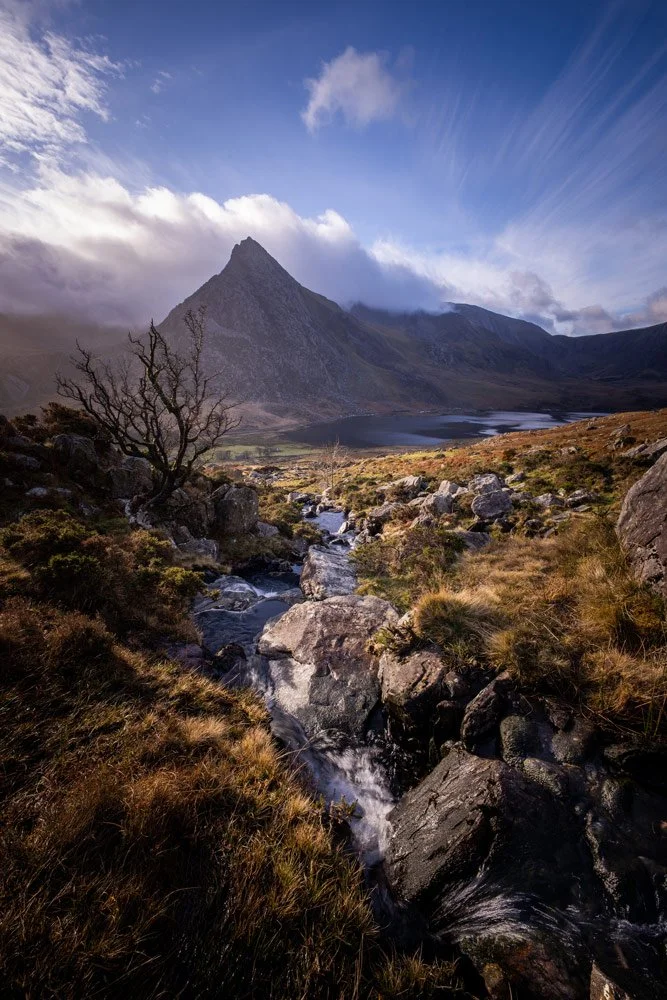
Same location in a vertical orientation
05. Shapes are Your Friend
Shapes can be really obvious, or they can be hidden within the landscape. But if you make a conscious effort to look for them, you can start to incorporate them into your photographs.
I look for circles, triangles, repeating patterns, mirrored shapes, anything that gives the photograph a unique look.
06. Include Motion to Draw the Eye
Motion can be used to show how something has energy in your frame, but it can also be used to lead the eye through your frame.
This can be crashing or withdrawing waves, rivers and clouds. Any of these can really drawer the viewers eye into the frame to your subject.
For this to work, you do need longer exposures than normal, and with those longer exposures, you will probably need to use a tripod.
If I am at the beach, I’ll try to include some movement in the frame with clouds, or waves to really add to the composition.
Generally, I like to add movement to water but still have a bit of texture. So with waterfalls and waves, I really like 0.25 - 0.5 seconds depending on the speed of the water.
When I first go into landscape photography, I’d put on the strongest ND possible and blur the water out as much as possible, but if you go too long with your exposure times, this completely removes the feeling of energy in the water … so nowadays, I like to keep a bit of texture in the water.

The water slightly blurred, gives the impression of motion in the frame
07. Tell A Story
Telling a story can be a little wishy washy, but if you can try to tell some kind of story in your photograph.
This could be a feeling that the viewer gets from your photograph … maybe the photograph has a cold feeling to it, or it warms them up with a nice glowing sunset … or a warm sandy tropical beach. Or it could be impending doom with a foreboding storm …
Other times, the viewer might have been to that location in the past and it brings back memories of when they were there last.
When you are first starting out, this can seem really daunting, but try to do it in a series of photographs.
Lots to start with, and then start to try to tell the story in fewer and fewer photographs, until you can give the viewer something in just one image.
If I am out walking with friends, I’ll try to get the feeling of the day in a handful of photographs. But if I am out on my own shooting landscapes, I will try to capture the feeling of the day in as fewer photos as possible. Sometimes I’ll get it down to one and other times I’ll get it in a few photos.

Hiking through The Devils Kitchen

Getting to the top
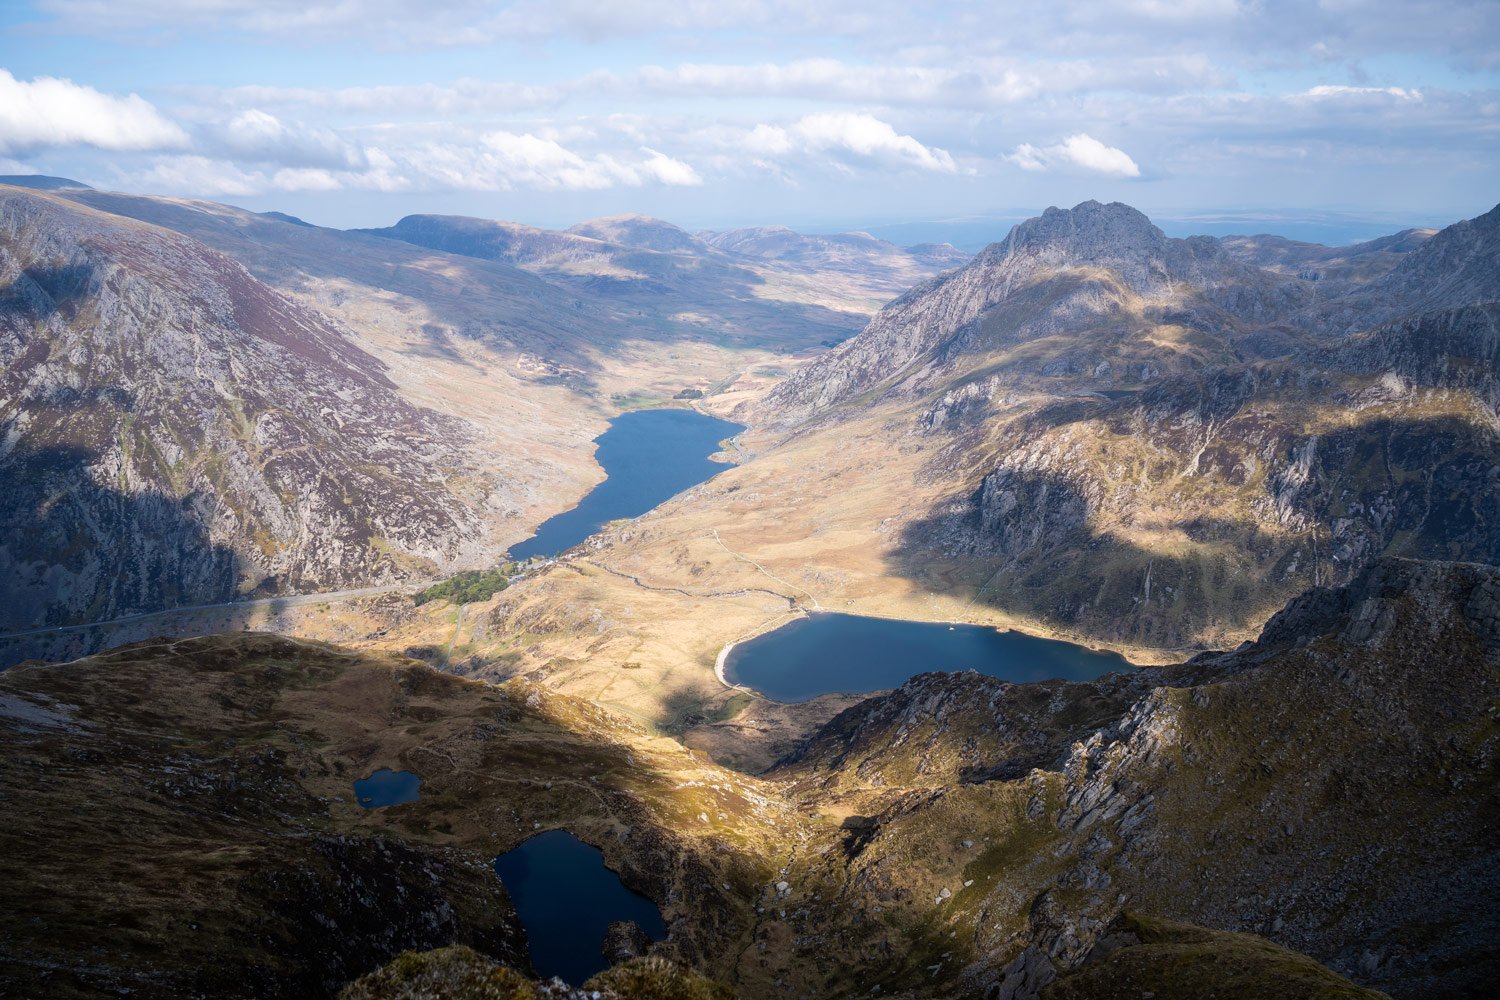
Looking east along Ogwen Valley
Conclusion
In thinking along these lines, you can really hone in your photography and if you do remember to think about these 7 things when out on location taking landscape photos, you will start to see purpose and meaning in your photos, which will make them more compelling to look at.
Ultimately this is what we are all striving for, great photographs that have meaning and purpose.
Thanks for reading
Mike
If you are wondering what to take with you on your next time out taking photographs, try this article next.